
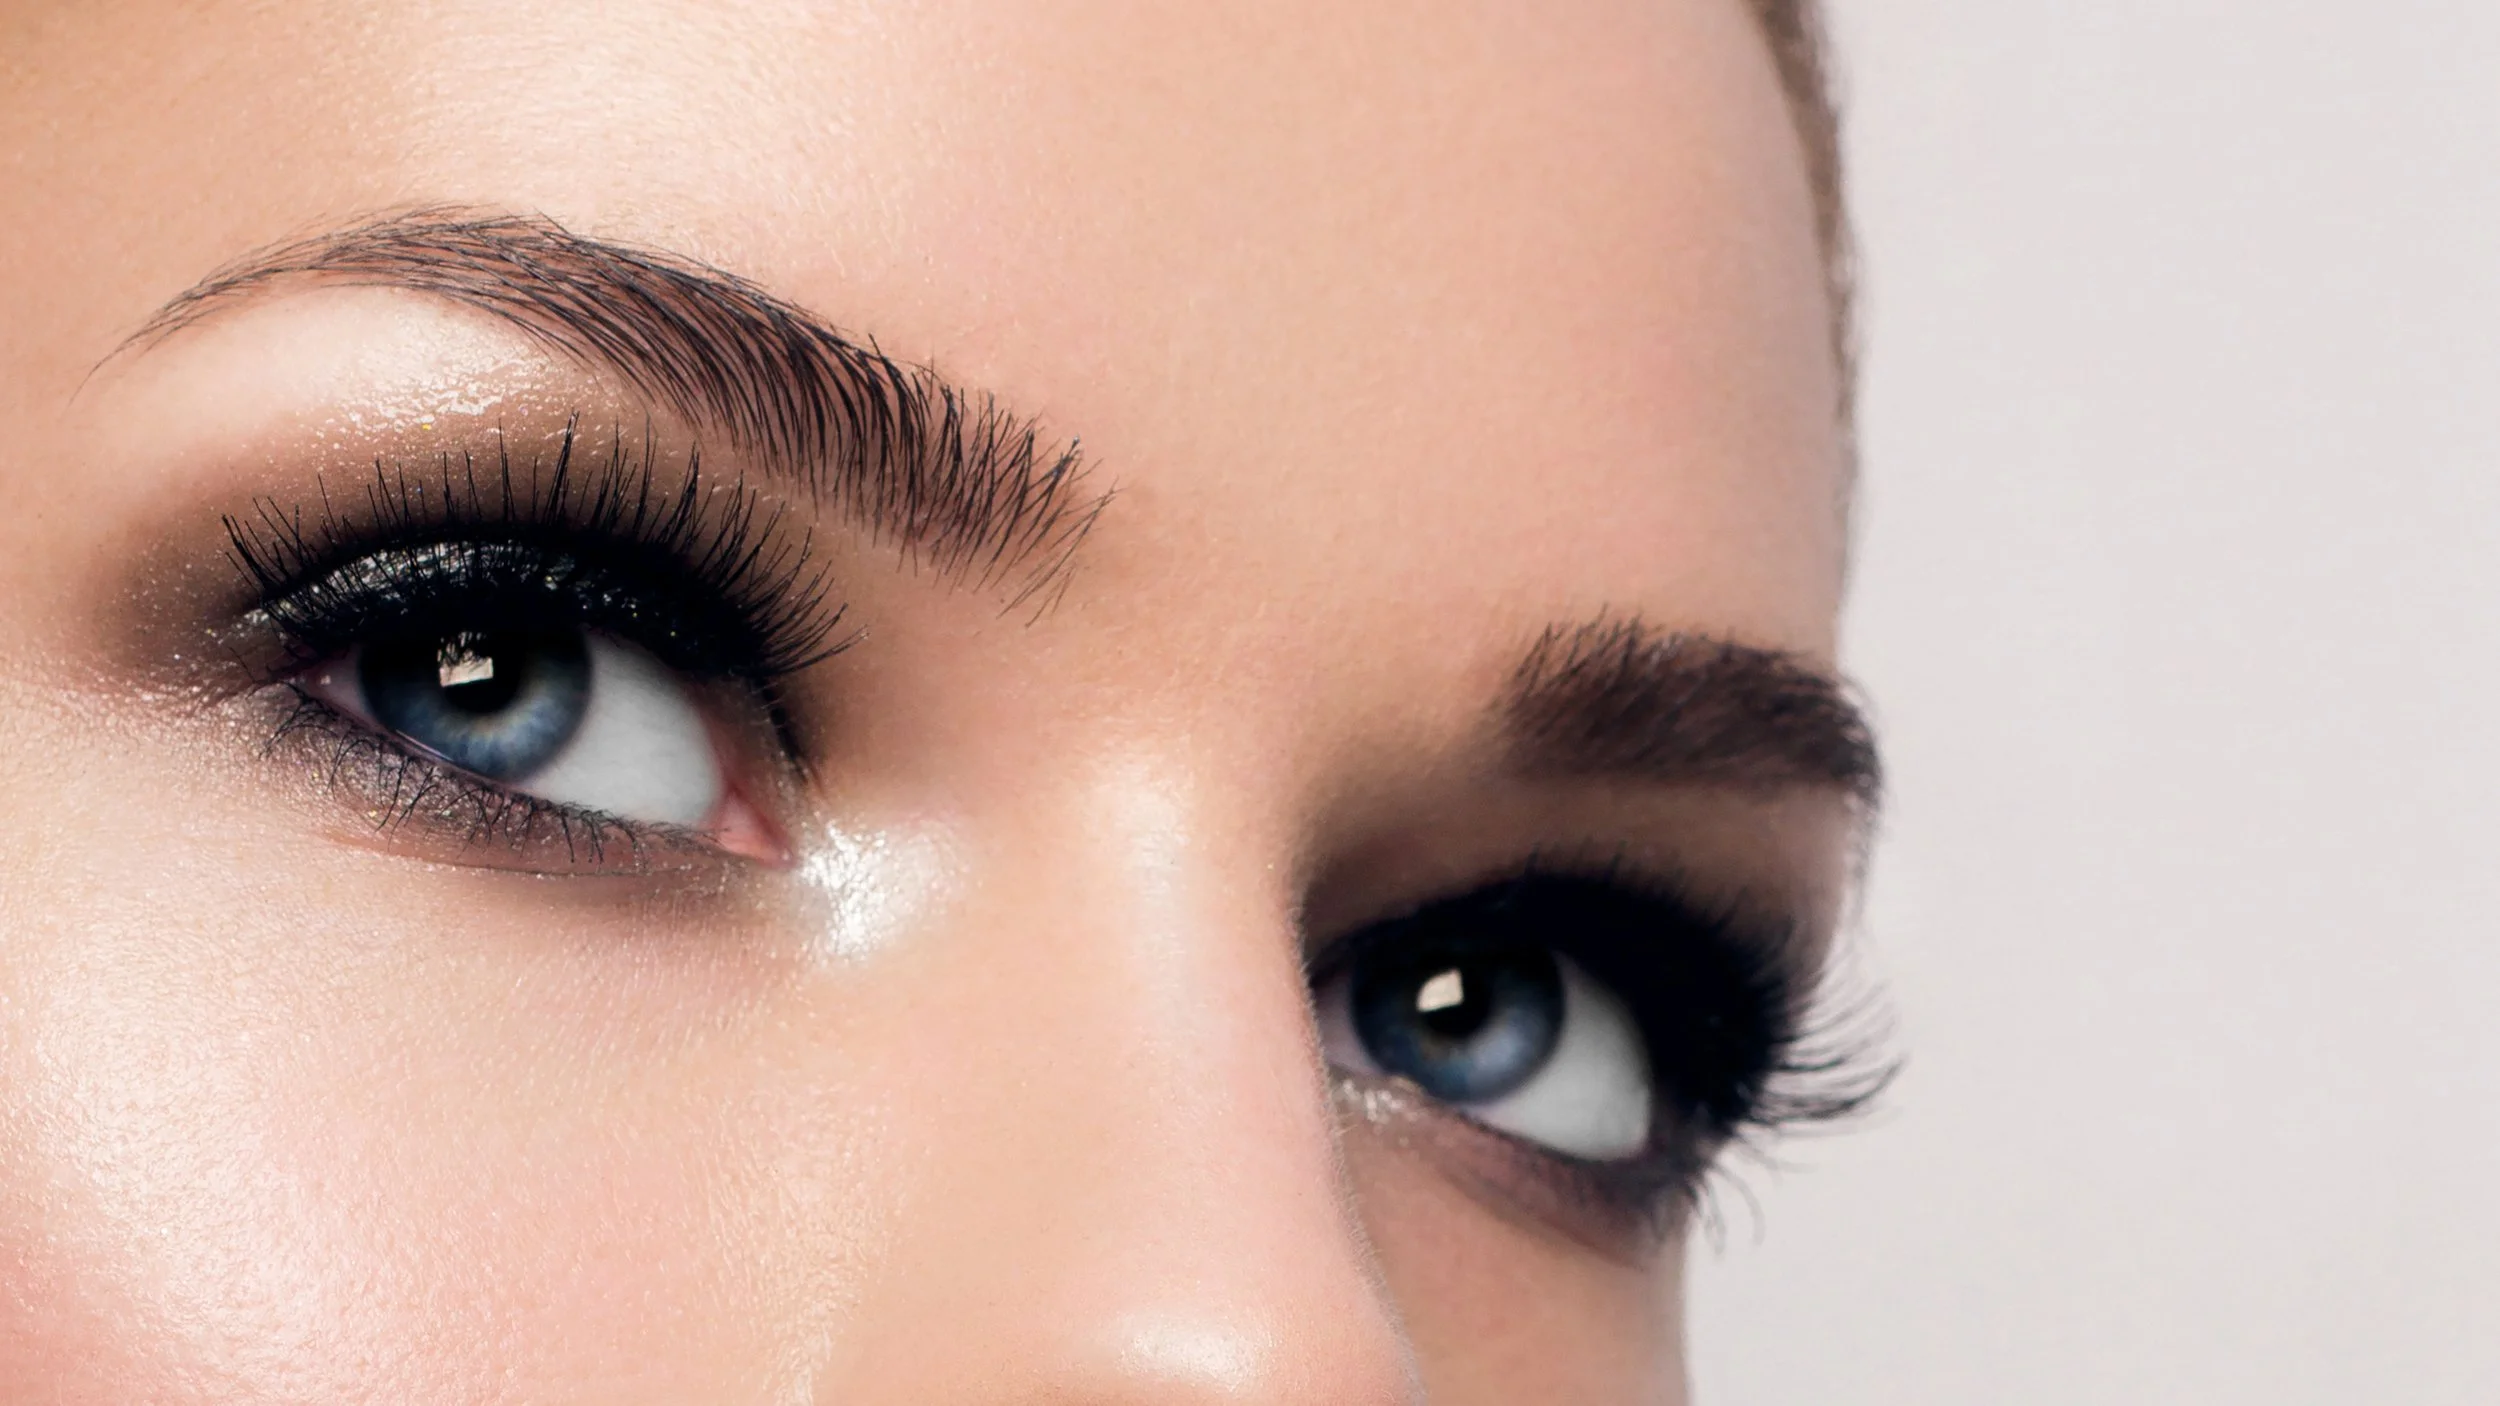
The Process?
Step 1: Consultation
Every microblading journey begins with a consultation. This is an essential step where your goals, preferences, and expectations are discussed to ensure the best possible outcome. The consultation helps us understand exactly what you're looking for—it truly makes up 90% of the overall process.
You'll be encouraged to share photos of your ideal brow look or how you typically shape your brows. This gives us insight into your style and helps design brows that are not only beautiful but also tailored to your unique face shape.
Step 2: Designing the Shape & Color
Well-shaped eyebrows enhance your natural beauty, and that elegance starts with the right shape and color.
Your facial features and symmetry are carefully studied, and a brow shape is sketched using a pencil so adjustments can be made as needed. This ensures you're completely happy with the design before the procedure begins.
Once the shape is finalized, a natural, flattering color is chosen collaboratively. We aim to match your natural brow tone and style for a seamless, polished look.
Step 3: Numbing
With the shape and color finalized, the numbing process begins to ensure a comfortable experience.
A topical numbing cream is applied to the brow area and covered with a wrap. After about 20 minutes, the skin is comfortably numbed and ready for microblading. This step ensures you feel relaxed and at ease before the procedure begins.
Step 4: Microblading the Brows
Once everything is in place and the area is fully numbed, the microblading begins.
A sterile, single-use needle is opened in front of you. The selected pigment is prepared, and fine, hair-like strokes are made to implant the pigment into the skin. Numbing cream is reapplied throughout the session to maintain maximum comfort.
Each stroke is a precise, shallow line that allows the pigment to settle, creating a natural, full brow look.
Step 5: Reveal & Touch-Up
With the microblading complete, it’s time for the reveal—the moment clients look forward to most. Adjustments can be made at this point if needed, and final touches are added to perfect the result.
Over the next two weeks, the brows will lighten by about 50–60%, gradually revealing the final color. Because microblading is a multi-session process, a touch-up appointment is scheduled within 40 days. This follow-up addresses any fading or unevenness and ensures a flawless finish.
Pre & Post Care
What to Expect
When it comes to brow tattoos, it's important to set realistic expectations. Healing may not be perfect after the first session, as this can be a two-step process that takes time. During the 10-day healing process, your brows will go through changes and may appear different from day to day. It's essential to be patient and understand that the final outcome will gradually develop.
Right after your procedure, your brows will look darker and more defined, which can last up to two weeks. Your brow tattoo may appear solid, with hair strokes seeming to disappear, and it may have a wet and painted-on appearance.
Around days 4-5, you may experience flaking, and your brows may appear dry. It is crucial not to pick at your brows and allow any dryness to naturally fall off. Picking off flakes prematurely can result in missing hair strokes and patchy brows, which may lead to scarring.
It typically takes up to 4 weeks for your brow tattoo to fully heal. As the flaking comes off, the hair strokes may initially appear faint because a fresh layer of skin has healed over the tattoo. Give your brows a few weeks, and the hair strokes will become clearer. The color will continue to change on a daily basis until the healing process is complete at the 4-week mark.
It's normal to experience itchiness in the brows for up to 2 months after the 10-day healing period, as the dermal layer continues to heal.
Keep in mind that not everyone's hair stroke brows can heal in a clean and crisp manner. Hair strokes for oilier skin types tend to heal more solid and powdery, while drier skin types tend to heal with more crispness and definition. Additionally, individuals who bleed more may require more touch-ups, as the blood can push the pigment out during the tattooing process.
Long-Term Care
Please note that results cannot be guaranteed as they vary depending on individual factors such as skin type, lifestyle, and the care given during the initial 10-day period and long-term maintenance of your brow tattoo.
To protect your brows, it is recommended to use SPF 50 or higher. Sun exposure can cause fading and alter the colour of your tattoo.
Avoid using chemical exfoliants on your brows as they can accelerate the fading process.
It is important to refrain from laser treatments in your brow area, as certain lasers may change the colour of the ink.
As your tattoo fades over time, the strokes will become fainter and less defined.
Maintenance is essential to preserve the desired results. Touch-ups are typically required every 9 to 24 months to maintain your brow tattoo.
Hair stroke brows usually last between 1 to 3 years.
Appointment To Dos
Stop using any skin thinners (retinol, vitamin A, glycolic acids, exfoliation) on the brow area 2 weeks before your appointment.
If you tint your brows, tint it at least one week before the procedure.
Do not consume alcohol or caffeine or take any blood thinners (aspirin, ibuprofen, or niacin 48 hours before your procedure; this will cause excess bleeding and may affect your results).
You may come in with how you normally draw in your brows so I can see what you are used to. This is especially important for clients who desire a specific brow shape. If you are open to suggestions, I am happy to help design a custom brow to suit you personally.
You may experience hypersensitivity and more pain around or during your menstrual cycle.
Cosmetic botox or fillers should be done 2 weeks prior or 2 weeks after.
We will not be able to tattoo over any blemishes, sores, and moles in or around the brow area.
What Not To Do
During the healing process, protecting your brows from the sun is crucial. Exposure to UV rays can alter the pigment of your tattoo. After the first 10 days, it is important to use SPF to maintain the longevity of your micro pigmentation.
Avoid excessive sweating for 10 days as sweat contains salt, which can infect and prematurely fade your brow tattoo. Salt in sweat may also alter the color of your tattoo. Moderate exercise is acceptable.
Running direct water on your brow tattoo should be avoided, especially in the first few days, as you don't want to wash out any pigment.
Do not use Vaseline on your tattoo. Also, refrain from using makeup, creams, or exfoliants on the brows for 10 days.
Avoid saunas, pools, steam rooms, massages, facials, and other skin treatments during healing.
Exfoliants, retinol acids, and AHAs should not be used on the brow area as they can prematurely fade your tattoo.
Avoid laser light therapy on your brow tattoo, as it can darken, lighten, and distort the pigment.
For touch-ups or any additional information, please reach out to us.